How to Trim a Brisket
Chef Tom demonstrates How to Trim a Brisket. In this tips and techniques video he goes through the different parts of the brisket and his favorite methods for cleaning up the lean meat and point meat. He also recommends boning knives and even gives suggestions on uses of excess fat.
How to Trim a Brisket
Rated 5.0 stars by 1 users
Category
American
Cuisine
BBQ
Author
All Things BBQ
Servings
10
Prep Time
60 minutes
Calories
695
Discover the secret to the perfect brisket with Chef Tom's tips and techniques video. Learn how to trim and separate the lean and point meats, and discover the best boning knives for each task. Plus, get creative ideas for using excess fat and unlock the full potential of your brisket!

Ingredients
Directions
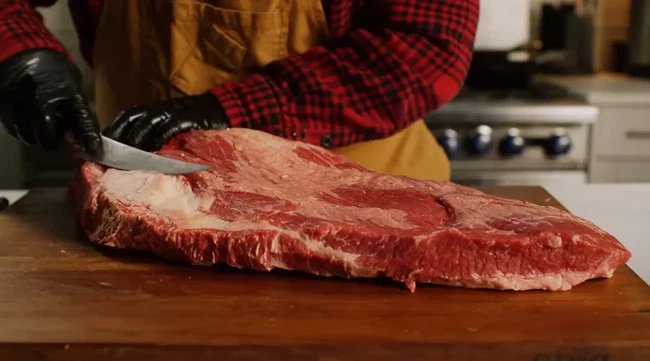
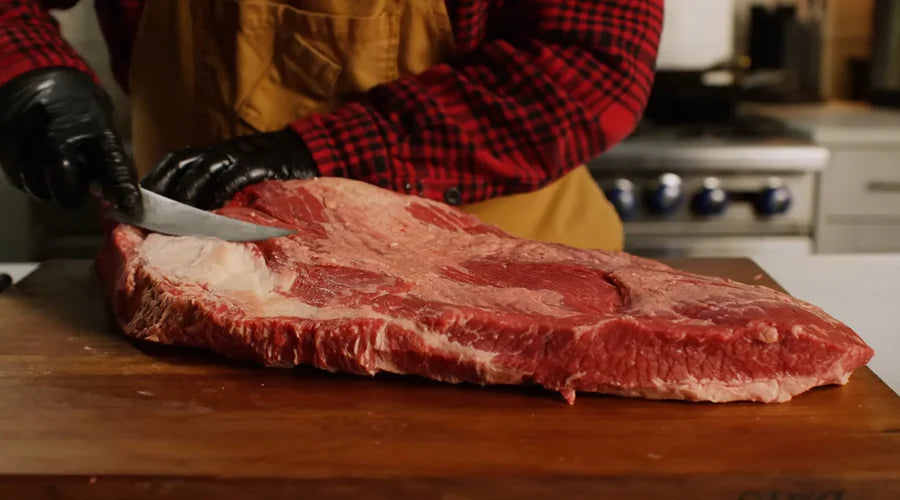
With the fat cap down, trim and remove the large hunk of hard fat on the bottom side of the brisket that sits at the back edge of the flat muscle, in-between the flat and the point muscles.
With the fat cap up, trim and remove as much of the hard wedge of fat on the top side of the brisket that sits just below the “mohawk,” or the small section of meat that protrudes at the top of the point muscle. The mohawk can be removed as well, as it’s a small piece of meat that will overcook and get crunchy during the cooking process.
Square up the outer edges of the brisket, removing any meat that is grey in color, exposing the red meat underneath. Also trim off the very thin corner of the flat meat that tapers to a thin low spot.
Next, still working with the fat cap up, begin trimming the hard fat and thin soft layer of fat from the point muscle (the thickest end of the brisket). This will expose the point meat, which is filled with intramuscular fat, and allow the seasoning to attach directly to the meat. As you trim from the thickest part of the top of the brisket down toward the thinner end, remove the layer of fat cap from the point meat, but stop when you get to the flat.
You should be able to identify where the point meat terminates in a thin layer over the flat. You can also see where the two muscles meet by taking a look at the brisket from the side and identifying the layer of fat that runs in between the two muscles.
From there, trim the fat cap on top of the flat meat down to about 1/4” thick. Again, use the side profile view to estimate how much fat is left on top.
Finally, flip the brisket over so the fat cap side is down. Trim any large chunks and/or hard fat from the bottom side of the brisket.
Recipe Video
- Choosing a selection results in a full page refresh.
- Opens in a new window.

